VRX Setup Guide
Runcam WifiLink Receiver
Warning
Do not connect power to the VRX if the HDMI cable is connected but the HDMI source is off — this may damage the HDMI output!
- Connect DC 9–30V power and a miniHDMI-to-HDMI cable to your goggles or monitor.
- Using the HID joystick you can change the communication channel (default
161 → 5.8 GHz). - Power on the drone and the VRX. By default both are set to channel
161and resolution1920×1080— video will appear within 10 seconds.
💡 That's it! You can now fly on OpenIPC digital video.
Additional VRX Settings
1. Accessing the WebUI
To change the VRX resolution (FullHD or HD), enter AP Mode (Wi-Fi access point): hold the joystick on the VRX until the screen shows "AP mode ON".
📶 A Wi-Fi network will appear: RadxaGroundStation 🔑 Password: radxaopenipc
After connecting, open your browser and go to:
In the WebUI you can: • change communication channels • download or view DVR recordings • configure Adaptive Link • select resolution • view the RSSI graph
2. Main WebUI Features

- DVR
- VRX Settings
- Camera Settings
- RSSI Graph (works when VRX and Air Unit are connected)
3. Configuring Resolution
Go to Groundstation Editor → Screen-mode → Edit. Set the resolution, e.g. 1280×720 — it must match the Air Unit settings.
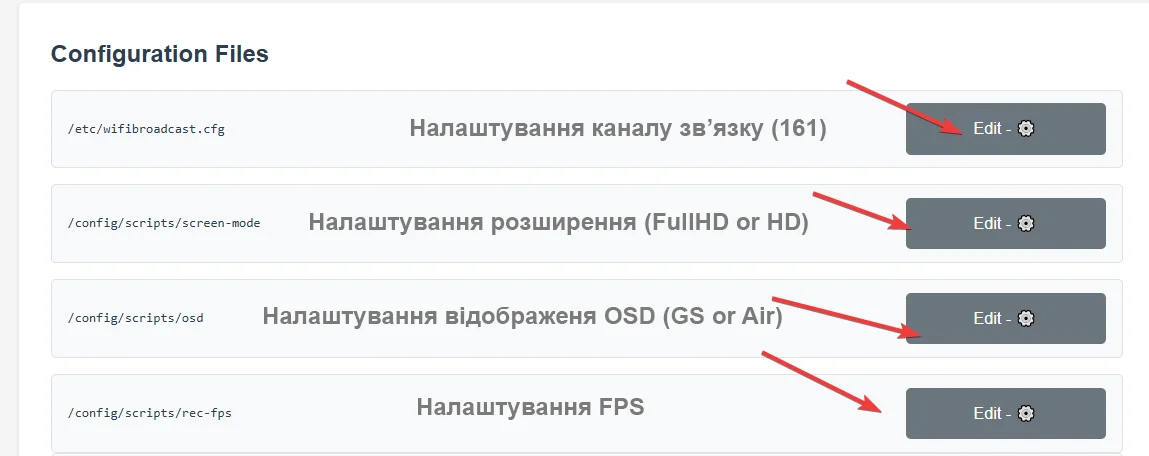
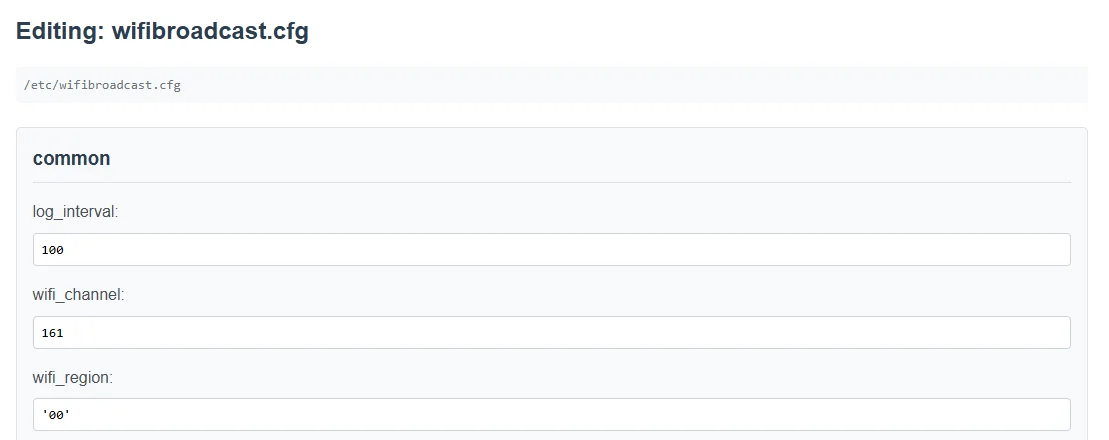
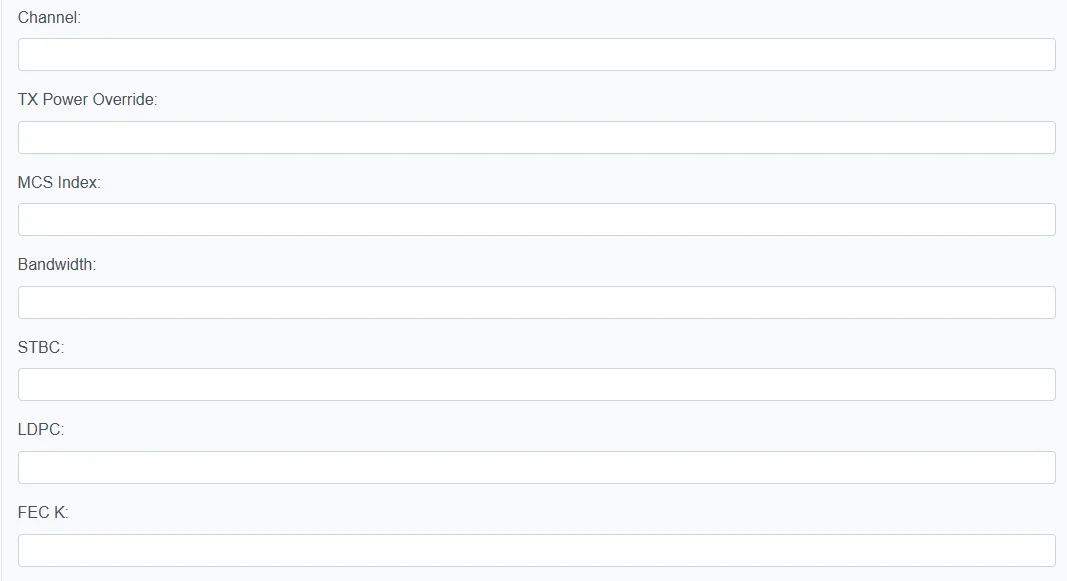
4. Configuring the Communication Channel
Go to Groundstation Editor → wifibroadcast.cfg → Edit. Set a different channel (e.g. 140, 64, etc.) — it must match the channel on the Air Unit.
📡 5.8 GHz Channel Table (20 MHz)
| Channel | Frequency (MHz) | Note |
|---|---|---|
| 36 | 5180 | Wi-Fi |
| 40 | 5200 | Wi-Fi |
| 44 | 5220 | Wi-Fi |
| 48 | 5240 | Wi-Fi |
| 52 | 5260 | DFS |
| 56 | 5280 | DFS |
| 60 | 5300 | DFS |
| 64 | 5320 | DFS |
| 100 | 5500 | DFS |
| 104 | 5520 | DFS |
| 108 | 5540 | DFS |
| 112 | 5560 | DFS |
| 116 | 5580 | DFS |
| 120 | 5600 | DFS |
| 124 | 5620 | DFS |
| 128 | 5640 | DFS |
| 132 | 5660 | DFS |
| 136 | 5680 | DFS |
| 140 | 5700 | DFS |
| 144 | 5720 | DFS |
| 149 | 5745 | No DFS (usually allowed) |
| 153 | 5765 | No DFS |
| 157 | 5785 | No DFS |
| 161 | 5805 | Most popular |
| 165 | 5825 | No DFS |
| 169 | 5845 | Non-standard |
| 173 | 5865 | Non-standard |
| 177 | 5885 | Non-standard |
❗ What is DFS (Dynamic Frequency Selection): A technology that allows Wi-Fi or FPV devices to operate on frequencies that may overlap with military or meteorological radars. If radar activity is detected, the device automatically switches channels.
5. Camera Settings (Air Unit)
Go to: Camera Settings → Load Current Config
- Wait for the settings to load from the camera
- Make your changes
- Save
- Restart Majestic

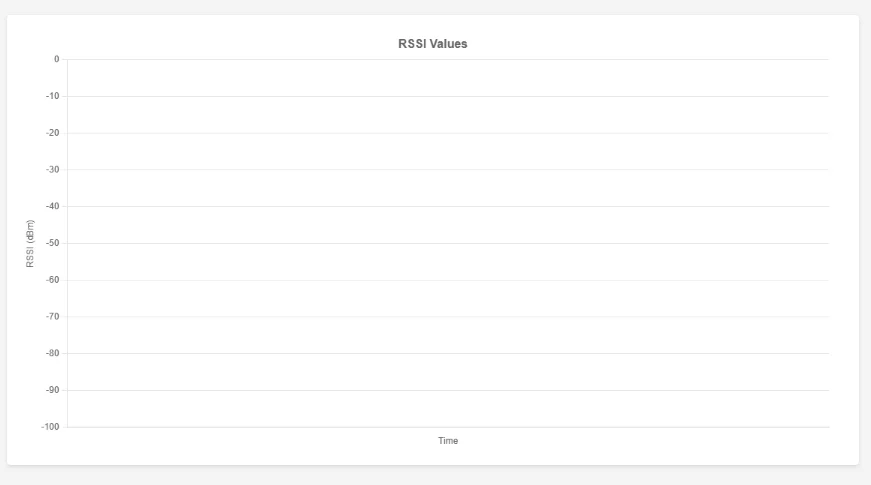
6. RSSI Graph
The RSSI graph lets you monitor signal strength, link quality, and verify antenna placement and link stability in real time.
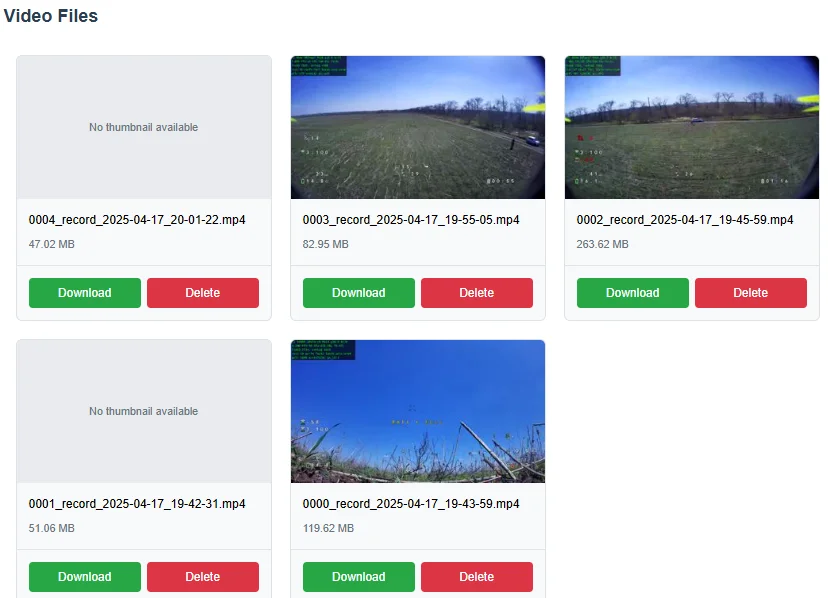
7. DVR
Download or delete your flight recordings.
8. Connecting Radxa to Your Home Network
Required software
- Win32 Disk Imager
- SD Memory Card Formatter
- PuTTY (SSH)
- WinSCP (FTP)
Initial Radxa Setup
- Flash the Radxa image (v1.9.9) to a microSD card using Win32 Disk Imager.
- Insert the card, connect a keyboard and monitor, disable Wi-Fi card power (⚠️ required).
- Power on, log in via SSH (root/root).
- Run
nmtui→ connect to your home Wi-Fi → reboot. - (Optional) AP mode → radxa-zero3.local → Web UI.

Camera Setup (Runcam WiFiLink v1/v2)
- Connect the Ethernet cable to your router or PC (IP 192.168.1.10).
- Open OpenIPC Configurator → Connect → select your camera.
- Camera: Resolution (1920×1080 or 1280×720) → Bitrate (e.g. 12 228 kbps; with Alink — auto).
- Telemetry: enable UART0 + Mavlink → restart.
- Firmware: update firmware → Update.
- Advanced: enable Alink → view logs.