APFPV Firmware — Beginner's Guide
APFPV stands for "Access Point FPV" – it's a simple way to get video from your drone to your phone, tablet, or computer using standard Wi-Fi. Imagine your drone creating its own Wi-Fi network that you connect to for real-time video viewing.
What is APFPV?
The APFPV firmware from the OpenIPC team creates a direct Wi-Fi connection between your drone's video transmitter (VTX) and the ground station. Instead of complex networks, the drone simply acts as a Wi-Fi router that you connect to directly.
This isn't a revolutionary technology, but a solution created for simplicity and accessibility, especially for those who find other FPV systems too complex.
Why Choose APFPV?
Ideal for beginners:
- No complex setup
- Works with any Wi-Fi enabled device
- Doesn't require special ground equipment
- Simple web interface in the browser
- The ground station can be any Wi-Fi device!
Important limitations:
- 40–70 ms latency (not suitable for racing). Sometimes up to 35 ms is possible.
- Depends on distance and interference
What You Need
For the drone (VTX):
- An OpenIPC-compatible camera or board
- A Wi-Fi chip (RTL8812AU, RTL8733BU, RTL8812EU are supported — the most popular ones)
For viewing (ground station):
- Android: PixelPilot app (recommended)
- Computer: Any with Wi-Fi and a browser
- Professional: External Wi-Fi equipment (TP-Link, Ubiquiti)
- Any device: That supports RTP streams
Step-by-Step Setup
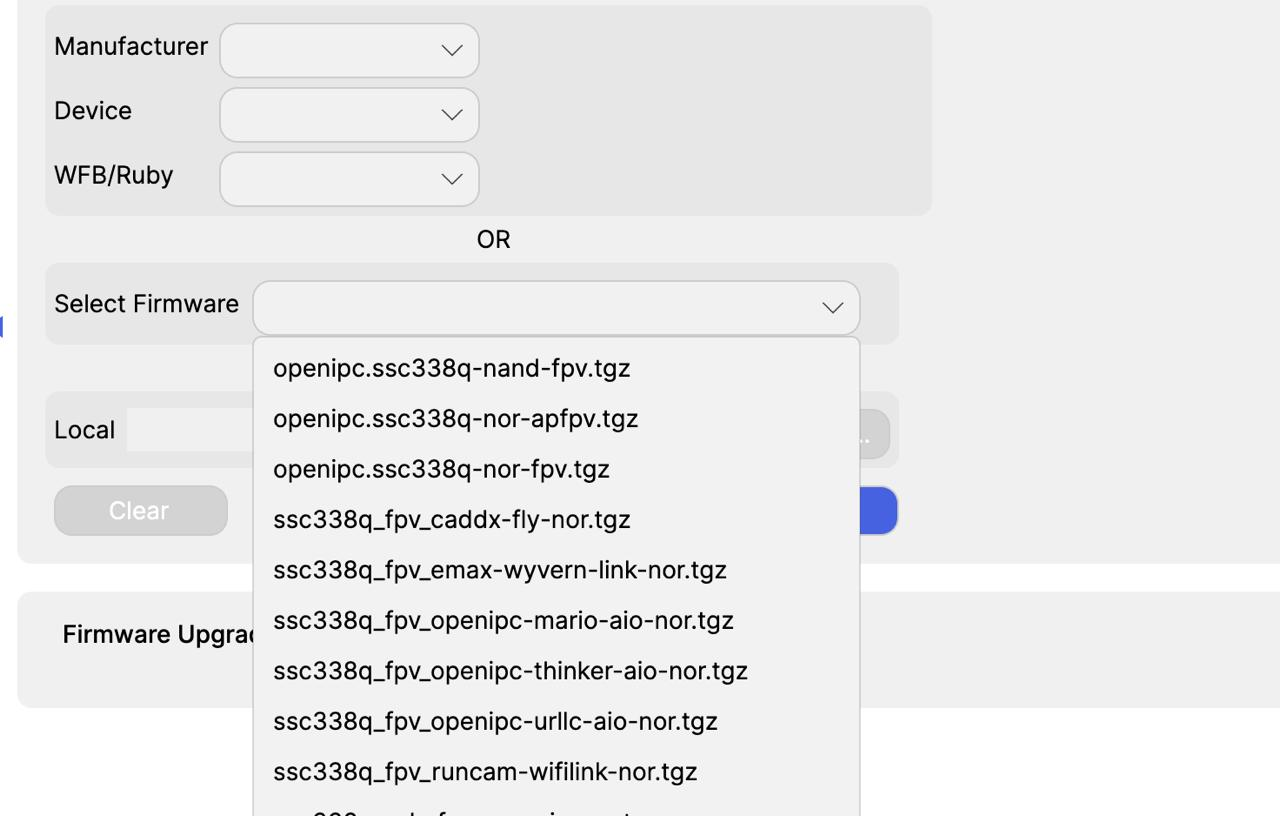
Step 1: Installing APFPV Firmware
There are three ways to install APFPV firmware on your drone. The internet method is much simpler if the drone can connect to Wi-Fi, or you can use the Configurator.
Easy Installation via Internet (Recommended)
Step 1: Connect the Drone to the Internet
Physical connection:
- Connect the drone to your computer via Ethernet.
- Power on the drone.
- Wait for it to fully boot (1–2 minutes).
Step 2: How to Connect to the Drone via SSH
On Windows:
1. Install PuTTY
2. Open PuTTY
3. In the "Host Name" field, enter the drone's IP
4. Port: 22
5. Connection type: SSH
6. Click "Open"
7. Log in with username: root, password: 12345
Tip
Enter the password when prompted.
Find the drone's IP:
- Check the list of connected devices on your router.
- Try network scanners on your phone.
Step 3: Install Firmware with One Command
After connecting via SSH and having internet access:
First, perform a full reset using the command - firstboot, wait for the camera to complete a full reset.
Then enter the command:
sysupgrade -k -r -n --url=[https://github.com/OpenIPC/builder/releases/download/latest/openipc.ssc338q-nor-apfpv.tgz](https://github.com/OpenIPC/builder/releases/download/latest/openipc.ssc338q-nor-apfpv.tgz)
Press Enter and wait for the reboot (5–10 min).
Attention
Remove the Ethernet cable for normal stream operation. And reboot the AIR Unit.
By default, the drone's Wi-Fi operates at 2.4 GHz.
To switch to 5.8 GHz:
bash fw_setenv wlanfreq 5805
Check if the Wi-Fi access point is working and on which frequency:
bash iw dev wlan0 info
bash fw_printenv | grep wlan
Set maximum power:
fw_setenv wlanpwr 3000
Login / Password
Openipc / 12345678
Method 2: Manual Installation (without Internet)
Step 1: Download the Firmware
1. Go to: https://github.com/OpenIPC/builder/releases/download/latest/openipc.ssc338q-nor-apfpv.tgz
2. Download the archive.
3. Unpack it — you'll get:
uImage.ssc338q
rootfs.squashfs.ssc338q
Step 2: Copy Files to the Drone
WinSCP (Windows):
1. Install WinSCP.
2. Protocol: SCP
3. Host: Drone's IP
4. Login: root, password: 12345
5. Log in and upload files to /tmp.
On Mac/Linux:
scp uImage.ssc338q root@[drone-IP]:/tmp/
scp rootfs.squashfs.ssc338q root@[drone-IP]:/tmp/
Step 3: Installation
SSH into the drone:
sysupgrade -z -n --kernel=/tmp/uImage.ssc338q --rootfs=/tmp/rootfs.squashfs.ssc338q
Connecting to the Drone
- Connect to the OpenIPC Wi-Fi network.
- Password: 12345678
- Drone's IP: 192.168.0.1
Viewing Video
On Android:
- Open PixelPilot — video will appear automatically.
In browser:
- Enter: http://192.168.0.1
On Linux (GStreamer):
gst-launch-1.0 udpsrc port=5600 ! application/x-rtp ! rtph265depay ! avdec_h265 ! fpsdisplaysink sync=false
Other Features and Tips
Other devices:
Use any application that supports RTP streams over UDP on port 5600.
Configuring the Wi-Fi Network
To change the Wi-Fi name and password:
Connect to the drone via UART or SSH and enter:
fw_setenv wlanssid Drone
fw_setenv wlanpass openipcfpv
Tip
Replace "Drone" with your desired network name, and "openipcfpv" with your password. Reboot the drone.
How the System Works
Imagine it this way:
- Your drone = Wi-Fi router (192.168.0.1)
- Ground station= Connected device (192.168.0.10)
- Video stream = Data transmitted from the drone
- Web interface = Control panel at http://192.168.0.1
Supported Hardware
Wi-Fi chips (on the drone):
- RTL8812AU (powerful, dual-band)
- RTL8733BU (compact USB adapter)
- RTL8812EU
Ground station:
- Any smartphone or tablet
- Computer with Wi-Fi
- Professional external Wi-Fi equipment
- FPV goggles with Wi-Fi support
- Any Wi-Fi device!
Frequently Asked Questions
What is the video latency?
Usually 40–70 ms. Depends on:
- Distance
- Interference
- Receiver device power
-
Video quality settings C an I use professional Wi-Fi equipment? Yes! You can use:
-
TP-Link with external antennas
- Ubiquiti equipment
- Other commercial Wi-Fi with good antennas
What is the range?
- Smartphone: 50–200 m
- Good Wi-Fi adapter: 200–500 m
- Professional equipment: over 1 km
Troubleshooting
Cannot see the "OpenIPC" network
- Check power and firmware.
- Wait 1–2 minutes after startup.
- Reboot the drone.
- Move closer.
Connected, but no video
- Enter http://192.168.0.1 in your browser.
- Check PixelPilot (Android).
- Make sure you are connected to the correct network.
Unable to install? Execute these commands and specify the AIR Unit name:
fw_printenv sensor
ipcinfo -cs
#
iw dev wlan0 info
cat /tmp/wpa_supplicant.conf
fw_printenv | grep wlan
ip a
lsusb
ps
iw list ; grep -e 'GITHUB_VERSION' /etc/os-release
Feedback
Copy the command output from the terminal and send it to info@openfpv.com.ua
Poor video quality
- Reduce distance.
- Avoid interference.
- Change location.
- Adjust quality in WebUI.
Tips for better performance
- Use 5 GHz if possible.
- Maintain direct line of sight.
- Use good antennas.
- Test everything on the ground.
Why APFPV is cool
Unlike complex systems (WFB-NG, RubyFPV), APFPV:
- Doesn't require special equipment
- Works with any Wi-Fi
- Has a simple point-to-point connection
- Offers a web interface
- Supports both beginners and professionals
APFPV — FPV simplicity for everyone. From first steps to serious experiments.